Making bread is easily one of life’s simplest pleasures. Not only can it be highly enjoyable to make bread totally from scratch, but there are also countless ways to make it, using all kinds of unique ingredients.
This also makes it a great food to make even if you have special dietary requirements, such as a gluten allergy, or you are on a vegan diet!
You’re likely reading this right now because you have heard of some of the potential benefits of using millet when baking bread. But what actually is millet?
What are some of the benefits of it? And how can you bake the perfect millet bread, all without any dairy?
If you want to make millet bread of your own, then look no further than down below, because we are going to show you the very best way that you can make millet bread, and what kinds of benefits you can expect from it!
What Is Millet Bread?
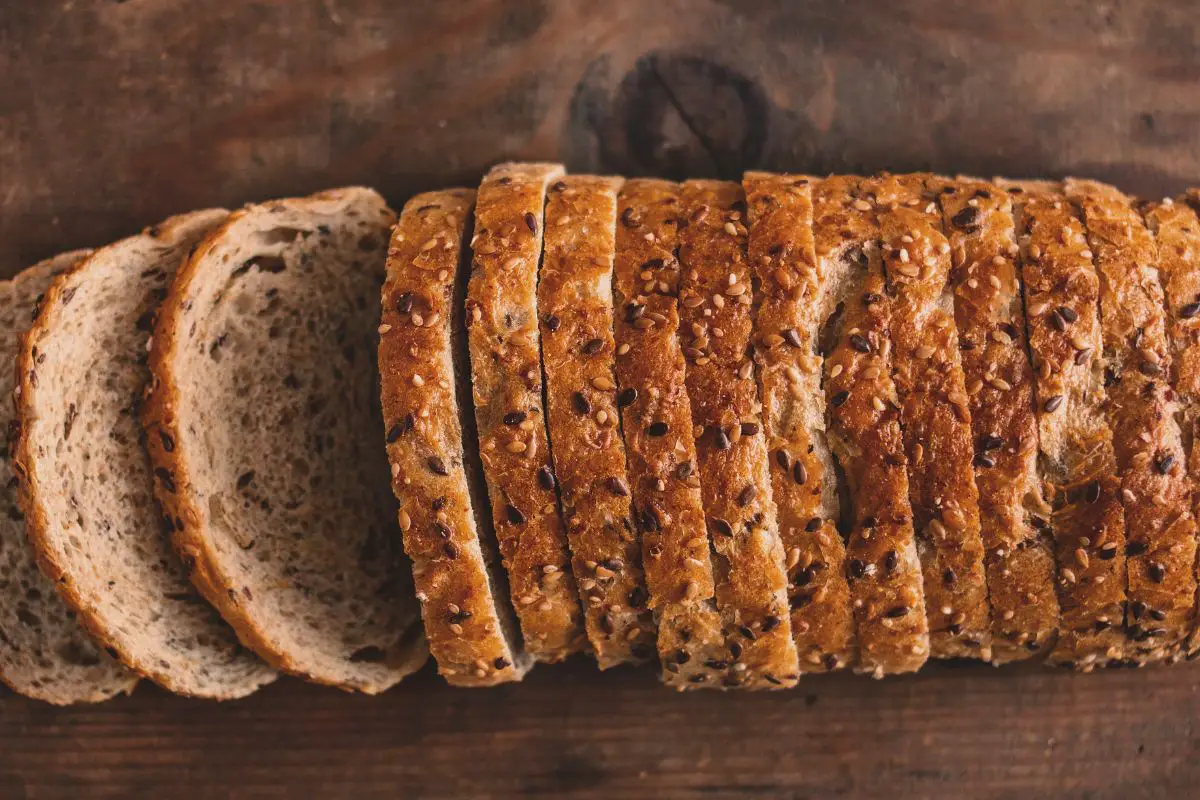
Put simply, millet bread is a type of bread that is made from millet flour. Millet bread is incredibly popular thanks to the fact that it tastes remarkably similar to ordinary bread but has a number of additional benefits.
Millet bread has been linked to lower levels of cholesterol in the bloodstream, and also for having anti ulcerative benefits.
This means that millet bread is able to help prevent the formation of ulcers in the gut, allowing for a much healthier gut, and thus a much healthier body overall.
What Is Millet?
Now that we’ve spoken about the numerous benefits of millet bread, you’re likely wondering what exactly millet is, and what kinds of benefits it can actually offer to an individual.
Millet is a type of flour that is made from the millet seed, which is a small seed that has a slightly sweet taste.
This slight sweetness can make millet very enjoyable to eat and can make bread recipes taste slightly sweeter, which is incredibly delicious.
One of the biggest benefits of millet, in general, is that it is actually gluten-free, and yet still provides the perfect flavor and texture to the bread, making it perfect for use in all kinds of bread recipes.
What Is Millet Bread Like?
If you are still new to the idea of millet bread, you’ve likely found yourself wondering what exactly makes it so special. Let’s take a look at what makes it unique.
Texture
Millet bread is actually very similar in texture to standard white bread that you might use for your sandwiches, which makes it a perfect replacement for such bread if you want to cut down on gluten but still have perfect sandwiches.
The bread is very firm, but it has a nice softness to it, which makes it pleasurable to eat. This also helps to make it very absorbent, so you can also easily serve it alongside a nice warming soup!
The texture can also be altered by lightly toasting the bread, which makes it very crispy on the outside, while still remaining slightly soft on the inside, to make for perfect breakfasts.
Taste
The taste of millet bread is what truly helps it to taste simply incredible. The bread is commonly described as having a slightly sweet taste, as a result of using millet flour, which is made from the corn-like millet seed.
However, despite having a sweet taste, the bread can also easily be combined with more savory foods, as the sweet flavor is very subtle.
This makes it a very versatile alternative to standard white bread, as it can easily be served with savory or sweet ingredients to create interesting sandwiches or side dishes.
How Do You Make Dairy Free Millet Bread?
Now that you’ve seen some of the many benefits of millet bread, you’re likely eager to get on and make some of your own.
Well, we have the perfect recipe for you, that is also totally dairy free, so make sure to read on down below to find out how to make it yourself.
What Ingredients Do You Need To Make Dairy Free Millet Bread?
Luckily, in order to make perfect-tasting millet bread, you do not actually need too many ingredients at all. Let’s take a look at the ingredients you will need.
Millet Flour
Of course, this is the star ingredient that you cannot possibly do without!
You can easily pick up millet flour at your local grocery store, and you do not have to worry about which brand of millet flour you pick, as they are all perfectly suited to this recipe!
Eggs
Eggs are necessary for helping to give the bread the fluffy and moreish texture that makes it so easy and delectable to eat!
Yeast
Yeast is one of the most important ingredients in the recipe because it is an active ingredient that is responsible for allowing the bread to rise.
This is doubly important considering the fact that this recipe makes no use of dairy in its ingredients!
Sugar
Sugar is another essential ingredient because it needs to work in tandem with the yeast in order to allow the bread to rise.
Water
Just a little bit of water helps to combine the ingredients together to create a perfect dough that will rise just the right amount.
Ground Flaxseed
Flaxseed, much like millet, is renowned for its many benefits to gut health, making it a very worthwhile ingredient to add to your recipe.
Salt
If you wish to reduce the level of salt in your diet, you can feel free to totally omit it from the recipe, however, adding a little bit of salt to the recipe helps to make the bread more flavorsome, as the savory taste of the salt perfectly combines with the sweet taste of the millet flour!
Tapioca Flour
Tapioca flour is rich in calcium, which of course is great for your bones, and helps to make you much stronger.
Brown Rice Flour
Brown rice flour is a great ingredient to include, as it is high in fiber, helping to increase the health benefits of the finished bread.
Oil
Feel free to add any oil of your choice to the recipe, as this helps to keep the bread nice and moist, and also allows it to bake more evenly, leading to a more satisfying final product.
We recommend making use of olive oil, because it has a great flavor that easily works with the natural flavors of the millet bread.
Xanthan Gum
If you plan to consume your millet bread over a longer period of time, then you will want to make use of xanthan gum, which helps to keep the texture of the bread moist over time, which in turn keeps it from spoiling.
However, if you do not need the bread to last for extended periods, then feel free to simply exclude it from the recipe!
Recipe For Dairy Free Millet Bread
Now that you have collected your ingredients, let’s take a look at what you need to do with them!
Step 1 – Preheat Your Oven
Set your oven to around 350 degrees fahrenheit, and allow it to warm up as you follow the next steps.
Step 2 – Measure Out Your Ingredients
Before you can start using your ingredients, you will want to make sure to evenly measure them out. The following measurements will help you to create a perfect loaf of around 13 even slices.
Feel free to slightly alter the measurements as you see fit, such as if you need a larger or smaller loaf.
You will need:
2 teaspoons of yeast.
1 teaspoon of your sugar.
120 grams of your millet flour. This can also equate to around a single cup’s worth.
90 grams of your tapioca flour, which equates to around 3 quarters of a cup’s worth.
1 teaspoon of your xanthan gum. Make sure this is measured out as accurately as possible, as adding too much of the gum can lead the bread to become overly moist and very oily, ruining the experience entirely.
½ a teaspoon of salt, for taste.
2 eggs.
3 tablespoons of your chosen oil.
27 grams of your ground flax seed, at around ¼ of a cup.
75 grams of brown rice flour, at around ½ a cup.
Step 3 – Prepare Your Yeast
Grab the water and the yeast that you have measured out, and then carefully combine them in a bowl. Lightly stir the combination in the bowl, to allow the yeast to activate.
Once you have lightly stirred it, simply allow it to then sit for 5 minutes.
Step 4 – Mix Your Dry Ingredients
Set aside the yeast and water, and then grab a medium bowl in which to mix together your remaining dry ingredients. Give them a quick mix together, and then allow them to sit.
Step 5 – Mix Your Wet Ingredients
Grab your eggs, oil, sugar, and the yeast mixture that you created earlier. Combine those together in a large bowl, and then mix them together for around 30 seconds.
At this point, you should start to see the batter beginning to form, but it should still be very wet.
Step 6 – Combine Everything Together
Grab the rest of your dry ingredients, which you previously combined together, and then add them to your existing batter in the large bowl.
Mix these together, and you should begin to see the batter thickening up and taking on a more dough-like consistency which you need.
At this point, you may also begin to notice the batter sticking to the sides of the bowl. Simply scrape it down so that it sits in the center, and then continue mixing.
To make this process much easier, we recommend making use of a standing stirrer, as the batter can become very thick, making it slightly more tiring to mix by hand!
Step 7 – Prepare Your Baking Pan
Grab your baking pan, and spray it with some cooking spray, being sure to evenly coat the entire surface of the pan, to ensure that the finished bread does not stick to the pan.
If you do not have cooking spray, then cooking oils can also do the job. Just be sure not to use too much, and to evenly spread it across the surface of the pan.
Step 8 – Add Completed Batter
Once you have prepared the tray that you will be placing the batter in, simply grab the batter and evenly spread it throughout the pan. Feel free to grab a table knife and scrape the mixture down into the pan evenly.
Step 9 – Bake Your Bread
Provided your oven has been preheated, you can now add the batter to the oven. Add the batter to the oven, and then allow the bread to bake for around 35 to 40 minutes.
You can also monitor the baking process, by inserting a probe thermometer into the bread, and checking that the internal temperature reaches around 210 degrees Fahrenheit.
You should also check to make sure that the batter begins to rise well above the edge of the pan. This means that the batter is rising correctly, and that you will be in for a total treat.
Once the batter rises over the edge of the baking tray, this is also another good indicator that the bread is almost done baking!
Step 10 – Remove Your Finished Bread
Now that the bread has finished baking, you can finally take it out of the oven and allow it to cool. Generally, you should allow the bread to cool for around 15 minutes within the baking pan.
After this 15 minutes has elapsed, feel free to then tip the bread carefully out of the pan, place it on a cooling rack, and then allow it to cool fully.
What Can You Serve Millet Bread With?
Now that you have actually made your millet bread you might be wondering how best you should enjoy it. What sorts of food combine well with it? Does it work well for sandwiches? Let’s take a look.
Because of its slightly sweet flavor, millet is perfect when combined with slightly more savory extra ingredients.
For example, a great way to liven up some millet bread is to spread some mashed avocado on it.
Avocado has a slightly savory taste, but is also renowned for its creaminess which allows it to easily combine with the sweet flavor of the bread, while also exaggerating it thanks to its texture.
We also recommend serving millet bread with some olive oil and balsamic vinegars to dip into.
The lightly sweet flavor of the bread is brought out by the sharp flavors of balsamic vinegar, creating a sweetness that is totally unmatched. Millet bread is also incredibly absorbent making it perfect for dipping.
Millet bread is also just a perfect substitute for standard bread, as it is very similar in texture and consistency, making it perfect for making sandwiches.
We recommend filling a millet bread sandwich with ingredients that are similarly great for the gut, such as hummus, halloumi, tomatoes, or even honey.
Millet bread also takes really well to being toasted, so you can make the bread take on a slightly crispy and crunchy texture that makes for a satisfying breakfast treat.
Spread some light butter onto the toast, and allow it to melt away, soaking into the softer inside of the bread.
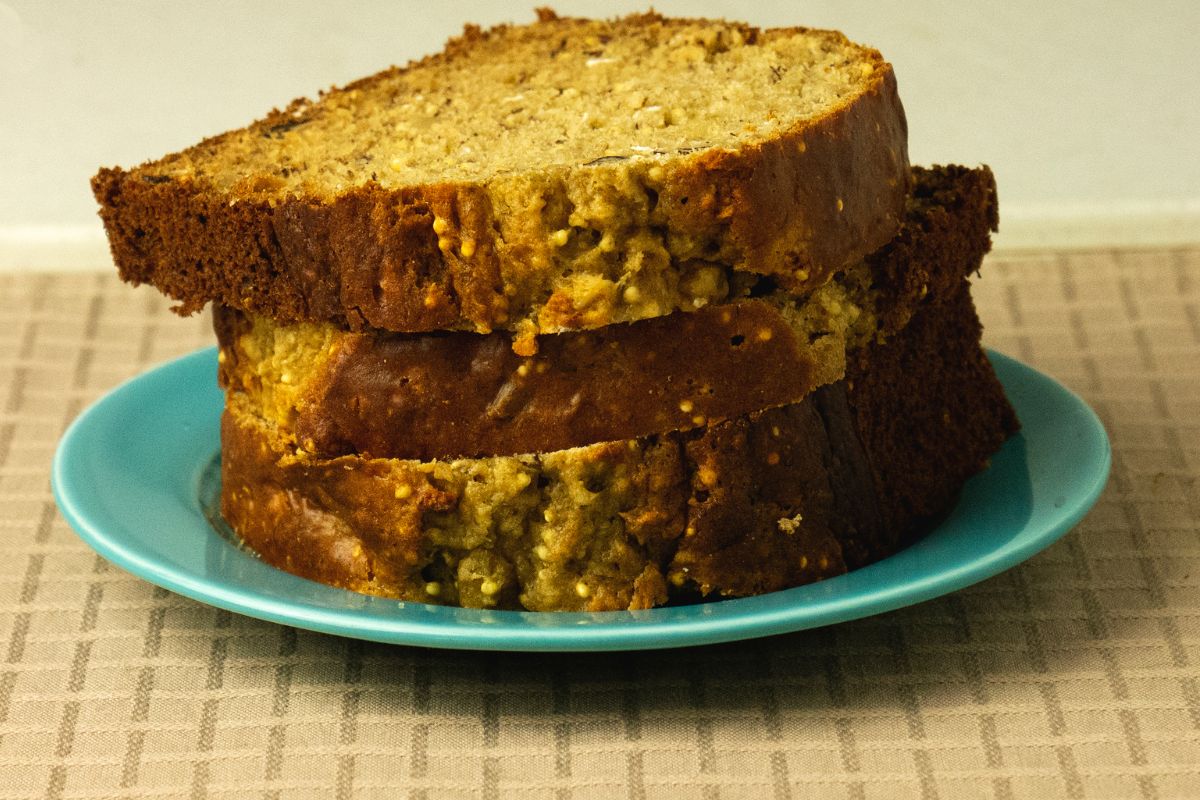
When it comes to how you should serve your millet bread, and whether you should make use of thick or thin slices, you can rest assured that the consistency of millet bread makes it perfect sliced thick or thin!
Millet bread is well known for being very sturdy, which means that it produces very few crumbs, and won’t fall apart easily.
Thus, you can easily slice it as thick or as thin as you want, and it will still maintain its structure. However, we do recommend cutting a slightly thicker slice, as the texture of the bread is worth enjoying and savoring.
To Wrap Up
As you can now see, making the perfect millet bread is not too difficult, and the steps to do so will yield some amazing bread that not only tastes good, but will do you an awful lot of good too!
Millet flour, produced from the millet seed, is renowned for some of its amazing health benefits, including its ability to help prevent ulcers from developing in the gut.
As well as this, our recipe above also includes a number of additional ingredients that not only help to add to the incredible flavor and texture of the bread, but also help to improve its gut benefits.
Ingredients like ground flaxseed have been known to improve gut health!
Millet bread is also great for those with gluten allergies, as it is naturally gluten free, making it perfectly safe to consume. Millet bread can also easily be made without any dairy, which makes it extra perfect for those with lactose intolerances.
Why not try making some of your own millet bread today?
Frequently Asked Questions
Is Millet Bread Anti-Inflammatory?
Yes. One of the great benefits of millet bread is that it actually has anti-inflammatory properties, which makes it great for those with easily upset stomachs.
The anti-inflammatory nature of millet makes it incredibly easy to digest, making millet bread a very popular food to make.
Is Millet Flour Good For Baking Bread?
Absolutely. Millet flour can make for a perfect alternative to standard baking flour, as it features many of the same benefits, and will easily rise when baking. It also has the added benefit of being naturally gluten free!
Is Millet Flour High In Protein?
Yes. One of the lesser-known benefits of millet flour is that it is naturally high in protein, making it perfect for achieving a high level of protein in your diet without having to eat bread that is high in gluten.
Hi, my name is Justin Roberts and I like to live by one major rule in life – health is wealth. And where does all health stem from? The food choices we make.
I grew up in a not-so-wealthy household that often struggled to get food on the table.
The food we did eat was cheap, holding no nutritional value at all. I’m talking frozen foods, carbs, fats, and very little fresh produce.
I am fortunate enough to have made a life for myself where the money for food is no longer an issue, and I have spent the majority of it looking into healthy foods and different diets to try.
The most notable is keto and paleo. I am also interested in only using whole foods wherever possible – call it trauma!
As a professional chef, I now create recipes surrounding these diets every day. My family are my tasters, and I strive to make my recipes as budget-friendly as possible.
I hope that you’ll find some inspiration for healthier meals from my website. I want to create a catalog of recipes that you can come back to time and time again. Enjoy!